devbits
WWDC this year gave us a ton of new things to play with, SwiftUI being front and center.A number of new @propertyWrappers were introduced, one I found particularly interesting was @Namespace.
This property wrapper can be used in conjunction with an identifier and the view modifier named matchedGeometryEffect to coordinate the animation of a part of the screen when updates occur.This was in Whats new in SwiftUI around the 19minute mark.
Unfortunately the example was super brief and only showed moving an element from within the same view body.
Let's quickly recap with an example, firstly without @Namespace and matchedGeometryEffect:
struct MyView: View {
    @State var left = true

    var body: some View {
        VStack {
            Button("Toggle", action: { withAnimation { left.toggle() } })
            HStack {
                if left {
                    Color.red.frame(width: 100, height: 100)
                    Spacer()

                } else {
                    Spacer()
                    Color.blue.frame(width: 100, height: 100)
                }
            }
            .padding()
        }
    }
}
The result looks like this:
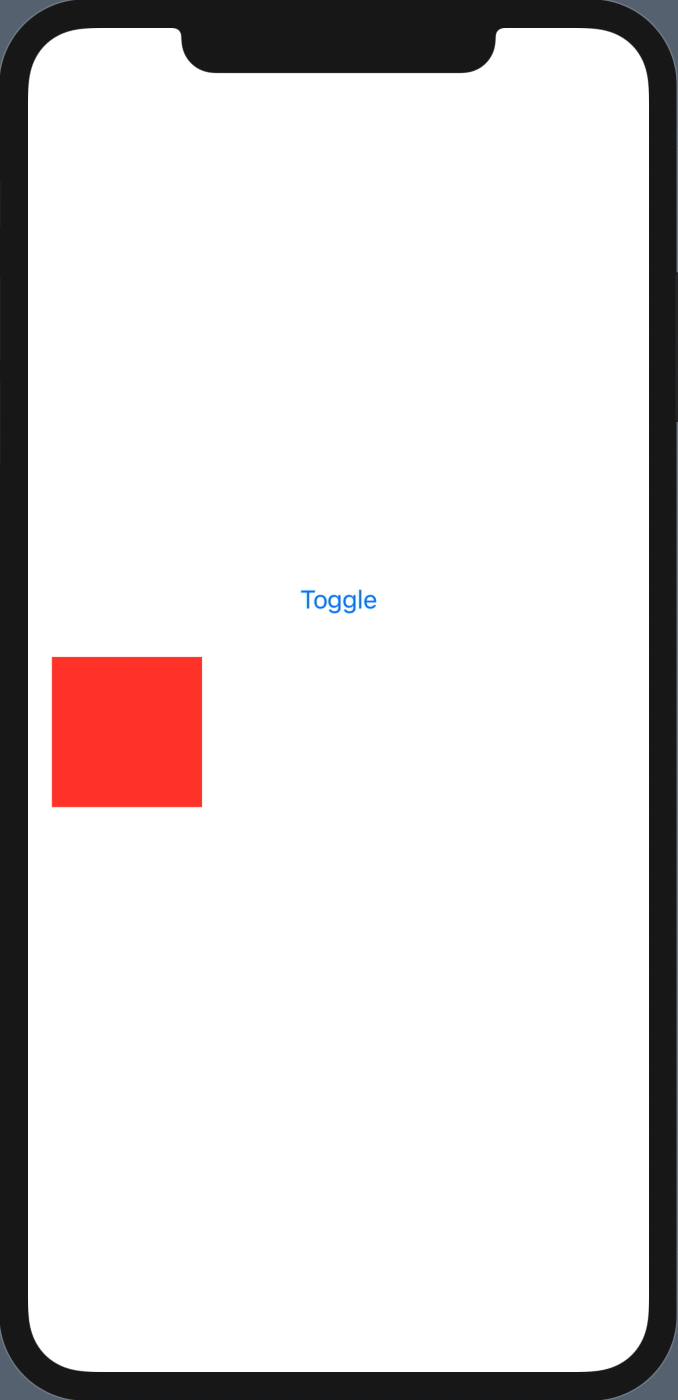
As you can see using withAnimation around the state change gives us a nice fade by default.Now let's see what happens when we add @Namespace and matchedGeometryEffect:
struct MyView: View {
    @State var left = true
    @Namespace var namespace // 1) Add namespace

    var body: some View {
        VStack {
            Button("Toggle", action: { withAnimation { left.toggle() } })
            HStack {
                if left {
                    Color.red.frame(width: 100, height: 100)
                        .matchedGeometryEffect(id: "box", in: namespace) // 2) Add `matchedGeometryEffect` inside namespace
                    Spacer()

                } else {
                    Spacer()
                    Color.blue.frame(width: 100, height: 100)
                        .matchedGeometryEffect(id: "box", in: namespace) // 3) Same here, making sure they use the same `id`
                }
            }
            .padding()
        }
    }
}
SwiftUI now animates between these 2 different boxes seamlessly as though you were simply moving the same box.

One thing that was not shown was how to perform animations like this across different views. For example what happens if we refactor our example like this:
struct MyView: View {
    @State var left = true

    var body: some View {
        VStack {
            Button("Toggle", action: { withAnimation { left.toggle() } })
            if left { LeftView() }
            else { RightView() }
        }
    }
}

struct LeftView: View {
    var body: some View {
        HStack {
            Color.red.frame(width: 100, height: 100)
            Spacer()
        }
        .padding()
    }
}
struct RightView: View {
    var body: some View {
        HStack {
            Spacer()
            Color.blue.frame(width: 100, height: 100)
        }
        .padding()
    }
}
Turns out integrating @Namespace and matchedGeometryEffect it's not immediately obvious, my first instinct was to just pass the @Namespace along like so:
struct MyView: View {
    @State var left = true
    @Namespace var namespace

    var body: some View {
        VStack {
            Button("Toggle", action: { withAnimation { left.toggle() } })
            if left { LeftView(namespace: _namespace) }
            else { RightView(namespace: _namespace) }
        }
    }
}

struct LeftView: View {
    @Namespace var namespace

    var body: some View {
        HStack {
            Color.red.frame(width: 100, height: 100)
                .matchedGeometryEffect(id: "box", in: namespace)
            Spacer()
        }
        .padding()
    }
}
struct RightView: View {
    @Namespace var namespace

    var body: some View {
        HStack {
            Spacer()
            Color.blue.frame(width: 100, height: 100)
                .matchedGeometryEffect(id: "box", in: namespace)
        }
        .padding()
    }
}
However this just resulted in the default fade animation...
The reason is @Namespace only has a single init() and it's wrappedValue is read-only.So by using the @Namespace property wrapper we are actually creating different instances in the left/right views rather than using the one we pass in.
However for this to work we still need to pass in the namespace since matchedGeometryEffect needs one. If we look at the namespace parameter of matchedGeometryEffect it actually wants a Namespace.ID which happens to be the wrappedValue from @Namespace. This means we should be able to just pass the Namespace.ID instead, let's try:
struct MyView: View {
    @State var left = true
    @Namespace var namespace

    var body: some View {
        VStack {
            Button("Toggle", action: { withAnimation { left.toggle() } })
            if left { LeftView(namespace: namespace) }
            else { RightView(namespace: namespace) }
        }
    }
}

struct LeftView: View {
    var namespace: Namespace.ID

    var body: some View {
        HStack {
            Color.red.frame(width: 100, height: 100)
                .matchedGeometryEffect(id: "box", in: namespace)
            Spacer()
        }
        .padding()
    }
}
struct RightView: View {
    var namespace: Namespace.ID

    var body: some View {
        HStack {
            Spacer()
            Color.blue.frame(width: 100, height: 100)
                .matchedGeometryEffect(id: "box", in: namespace)
        }
        .padding()
    }
}
Success!
Using these features you can create some fantastic interactions with very little code. The same interactions with UIKit would involve numerous additional types and fairly complex code to create the same transitions.
Remember that to 'link' elements with matchedGeometryEffect you need to:
Namespace by using the same instance.id.And SwiftUI will take care of the rest!


